
Add code or a plugin
Use the official instructions, then test one small feature before changing the rest.
- STEP 1
Identify what you found
Is it a full starter project, a library, an editor plugin or a code snippet? Each has a different setup route.
Check: The guide selects the right type rather than treating everything as pasteable code.
- STEP 2
Match your project
Read the official README and choose a compatible version. Check engine, language, platform, dependencies and permission to sell your game.
Check: Unsupported or unknown compatibility is shown before installation.
- STEP 3
Protect existing work
Make a backup or commit, then use a separate branch/test project. Review proposed commands and files before running anything.
Check: There is a clear way back without deleting unrelated work.
- STEP 4
Follow the correct setup
Use the project’s existing package manager or documented plugin installer. Don’t replace whole folders or run unknown install scripts blindly.
Check: Only the intended package/plugin files change.
- STEP 5
Wire one small example
Connect one button, item or test scene. Check behaviour and errors, then review the diff before keeping the change.
Check: The feature works and existing controls/saves still behave as expected.
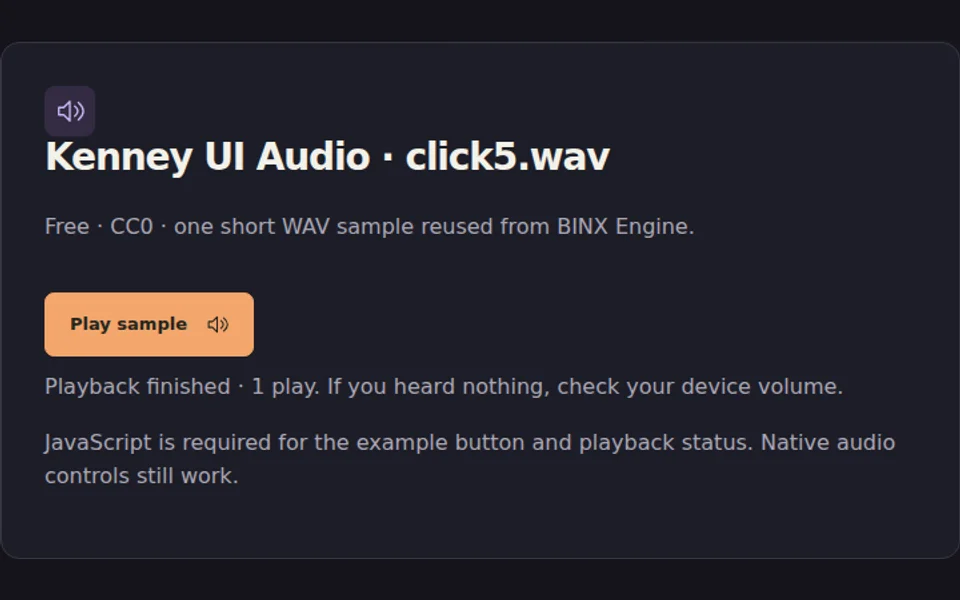
Actual browser example; playback status comes from the library events.
For an npm project, follow the separately tested Howler bundler walkthrough.
Limits & official instructions
- An engine-specific plugin cannot usually be pasted into a different engine.
- Downloaded code and setup scripts can run with your machine’s permissions; review and isolate first.
- Keep the official licence/notice files and check any dependency-specific terms.