
Import one model into Godot
A geometry-only CC0 sample, tested with Godot 4.5. One mesh, one plain material and one small scene.
Tested Godot 4.5 stable · Linux x86-64 · Compatibility renderer · 2026-10-06. Use a copy of your project first.
Explain this with my AI- STEP 1
Choose one permitted file
Start with a new test project and one model, not your whole asset library. Get the complete pack from Kay Lousberg ↗, or use our credited geometry-only sample below.
The sample is a KayKit Dungeon Remastered 1.0 barrel already held in BINX Engine. We removed material references because the sample has no original textures. It is not the current Free 1.1 archive or a paid edition.
Download the CC0 sample OBJ Keep its original licenceCheck: You have one OBJ file and its licence. No purchased or private files need to be shared with an AI.
- STEP 2
Let Godot import it
In Godot 4.5, create a small project using the Compatibility renderer. Copy the OBJ and licence into an
assets/folder inside the project. Return to the editor and allow import to finish.For a complete creator download, keep its material and texture files together. This geometry-only sample deliberately uses a plain material instead.
Check: The FileSystem dock shows the file. Its default OBJ import creates a Mesh resource, not an animated character.
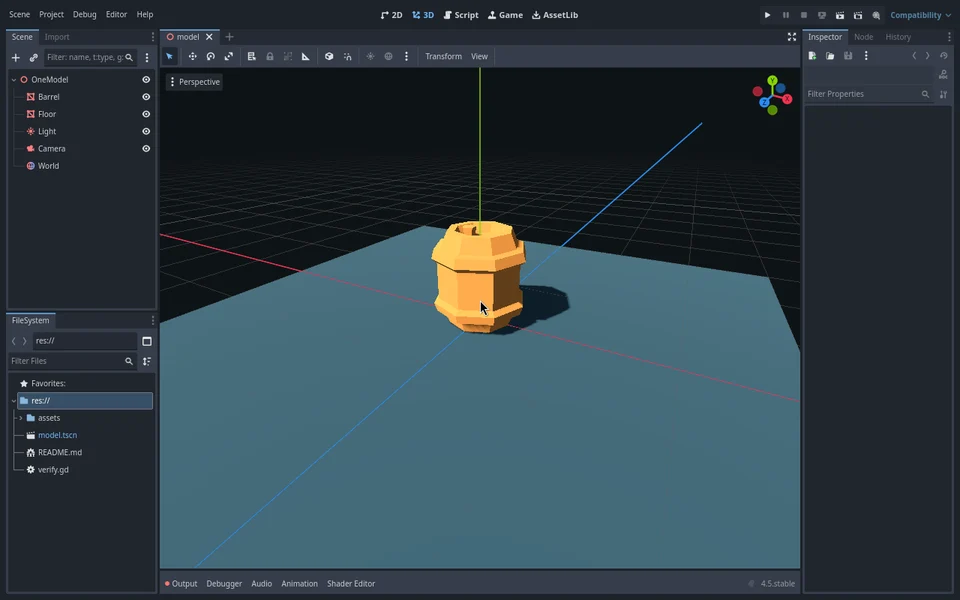
Actual Godot 4.5 editor capture from the tested sample project. - STEP 3
Put the mesh in a scene
Create a 3D scene. Add a
MeshInstance3Dand dragbarrel.objonto its Mesh property. Give Material Override a simpleStandardMaterial3D. Add aCamera3Dand aDirectionalLight3D, then point the camera at the model.Our sample’s bounds are approximately 1.00 × 1.02 × 1.00 project units. Compare scale in your game; this does not prove the pack uses your project’s preferred units.
Check: The Mesh property references your imported OBJ. A plain brown material in our demo is a sample choice, not the original pack texture.
- STEP 4
Run this scene
Save the scene and run the current scene with F6. Check that the camera is active and the model is visible. If it is dark, check the light and material. If it is missing, check the Mesh property, position and camera direction.
Check: You can see your imported mesh in a running scene, not just a file in the folder.
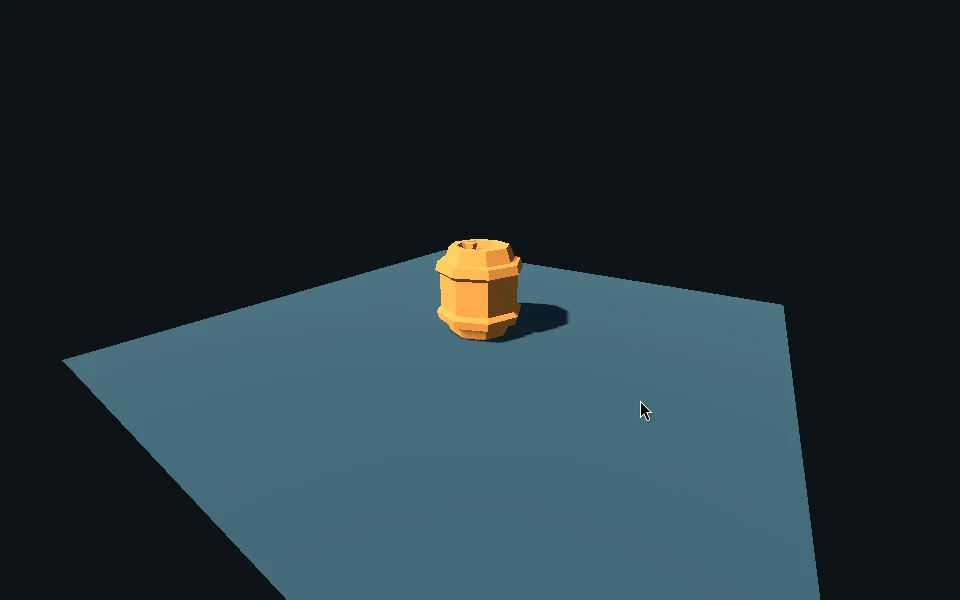
Actual Compatibility-rendered test scene. No animation, collision or gameplay test is claimed. - STEP 5
Keep the successful change small
Keep the licence, creator link and exact file/version with your project. Add collision, animation or export testing separately when your game needs them. The OBJ sample contains no rig or animation.
Asset or plugin? This is an asset import. An editor plugin normally has a
plugin.cfginsideaddons/and is enabled in Project Settings → Plugins. A runtime script is attached to a node. This walkthrough does not install or test a plugin.Check: You know which imported file works and which additional behaviours still need testing.
Official instructions and original notices
Godot 4.5: importing 3D formats ↗
Godot 4.5: installing editor plugins ↗